Ok ok, you'll need to do a little teaching. But that's about all the energy I have left this time of year: a little. You can tell it's spring because the students start acting a little more wild, a little shorter on attention span...a little more squirrely. Add in concerts and grading and it's amazing any of us are still standing.
So you might be in the market for a lesson plan that works in just a single period and one you can use with multiple grade levels. And maybe one where you don't have to sweat too hard.
Maybe this groove can help...Below you'll find a lesson plan, play along track, video and song suggestions.
So you might be in the market for a lesson plan that works in just a single period and one you can use with multiple grade levels. And maybe one where you don't have to sweat too hard.
Maybe this groove can help...Below you'll find a lesson plan, play along track, video and song suggestions.
Here is how I'd teach it:
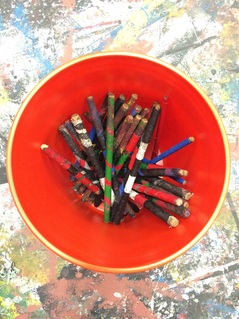
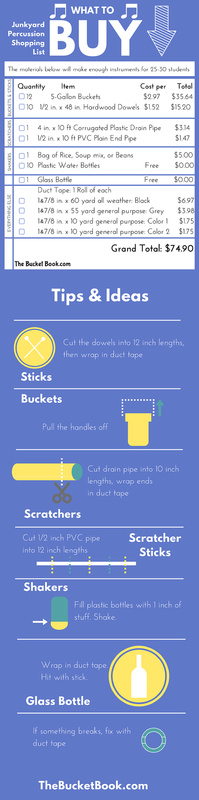
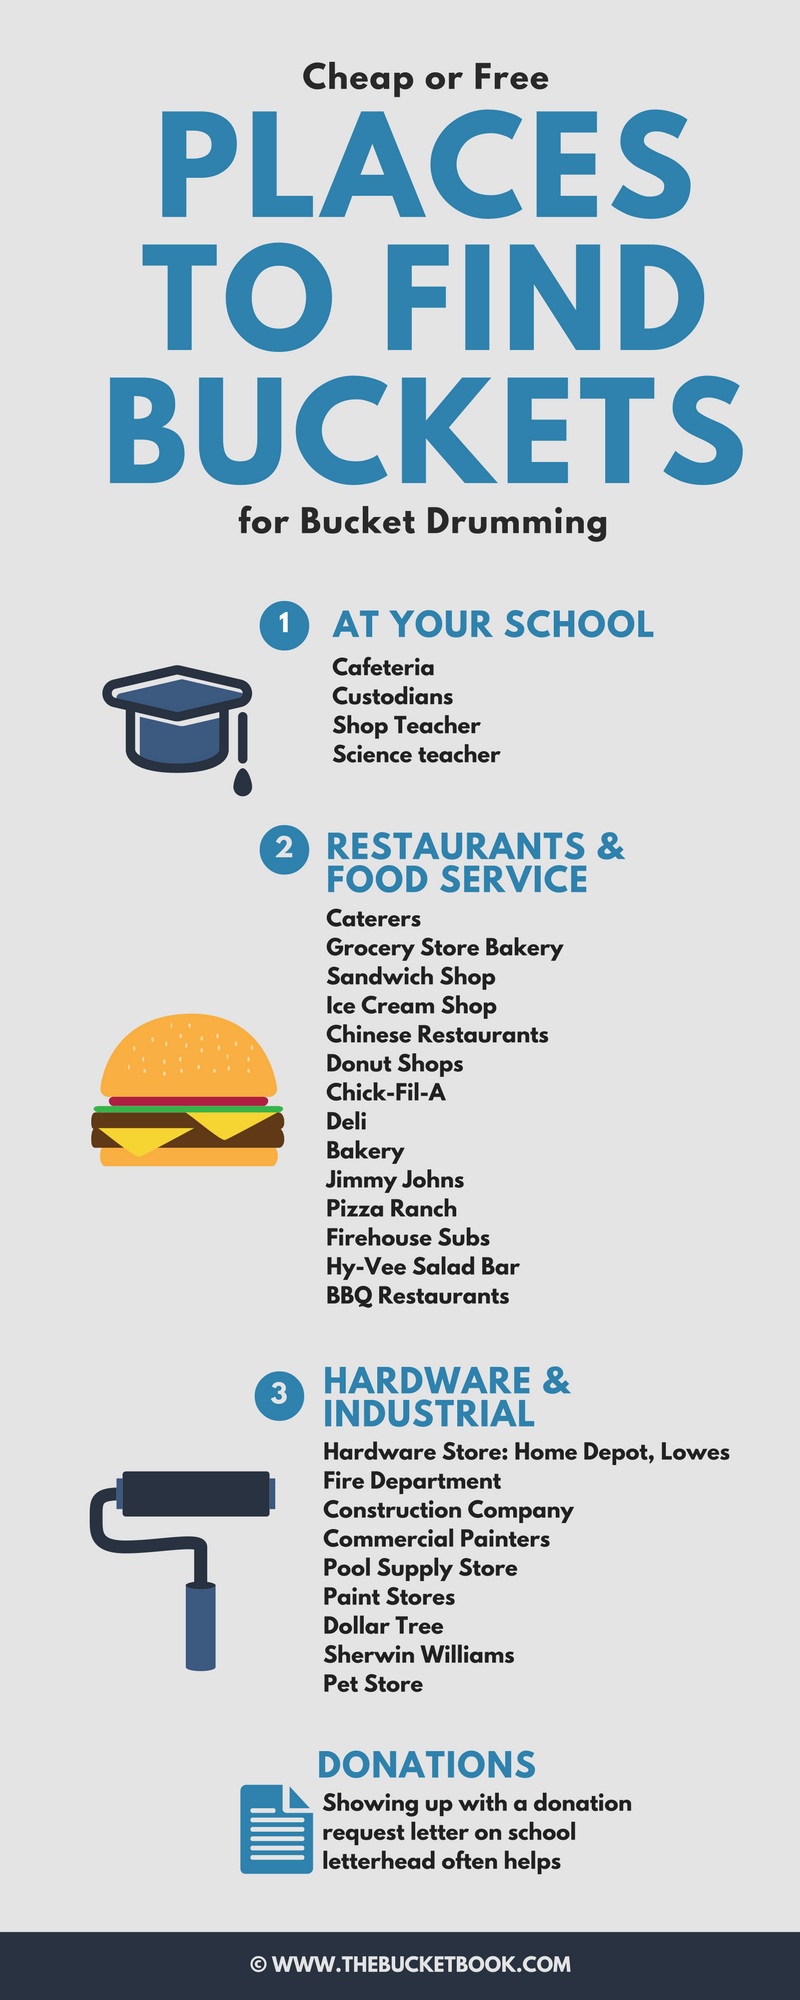
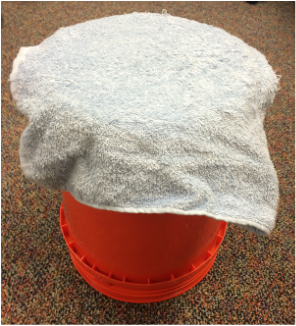
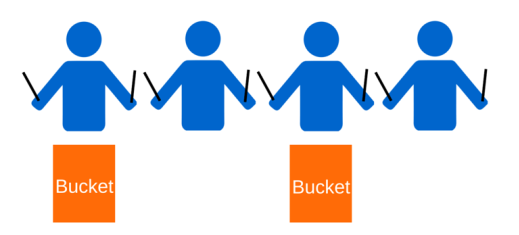
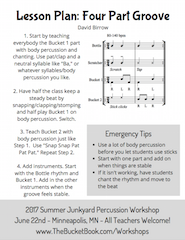
| 1. Start by teaching everybody the Bucket 1 part with body percussion and chanting. I'd use pat/clap and a neutral syllable like "Ba," but use whatever syllables/body percussion you like. If you feel unsure teaching this, check out this post. 2. Have half the class keep a steady beat by snapping/clapping/stomping and half play Bucket 1 on body percussion. Switch. 3. Teach Bucket 2 with body percussion just like Step 1. Perhaps use "Snap Snap Pat Pat Pat." Repeat Step 2. 4. Add instruments. Start with the Bottle rhythm and Bucket 1. Add in the other instruments when the groove feels stable. Click here to download the full lesson plan (PDF). |
But wait, there's more!
 Click to Download
 Turn on the video and have the students play along by watching their part on the screen and playing along. This is great because it's sometimes difficult to model more than one part at a time.
Next, turn on this play along track and have students play along. Download it here (don't forget to download the printable Lesson Plan too!)
Then find some tunes and have the students play along with the music. They'll love it and offer a bunch of song suggestions. Once you 'safety check' their suggestions, turn on the song and play along.
The tunes in the video include:
- We Found Love - Rihanna and Calvin Harris
- Hey Boy Hey Girl - Chemical Brothers
- Outside - Ellie Goulding and Calvin Harris
- I Feel Good - James Brown (kind of quick, but fun)
- Happy - Pharrell
- Oye Como Va - Santana version